If you happen to be looking for a specific custom guitar color or you’re just looking to refinish a guitar, it’s pretty simple to learn how to refinish and repaint a guitar yourself! To help you get the guitar color of your dreams, we have put together this guide on how to paint a guitar in the right way and what to prepare beforehand.
Before you get into refinishing your instrument, know that refinishing and repainting a guitar is much more difficult than refinishing any other wood object, as a large amount of effort and attention has to be paid in order to achieve a smooth, sleek, factory appearance.
When starting, make sure that you’re prepared to take your time, as painting guitars and properly finishing their guitar body is a lengthy process that can take weeks to accomplish.
Let’s get into it!
Step 1: Gathering Your Supplies
Here’s what you’re going to need to have for your repainting project:
Orbital sander
Sanding paper or sanding sponge
Fine grit, medium, and coarse sandpaper
Vacuum cleaner
Cloths
Mineral spirits
White Primer
Spray cans or paint
Spray gun (if you decide to use spray cans)
Clear color coats
Ultra-fine sandpaper pads
Dust mask and eyeglasses
Wire cutters
Screwdriver
Allen wrenches
Soldering iron and solder
Masking tape
Safety gear (e.g., goggles and gloves)
If you are doing your paint job, make sure that you follow the simple guidelines that we list in this article and that you don’t rust, as your rush job and mistakes will show through in your final results!
Step 2: Preparing the Guitar
Begin to disassemble your guitar
Image from WikiHow
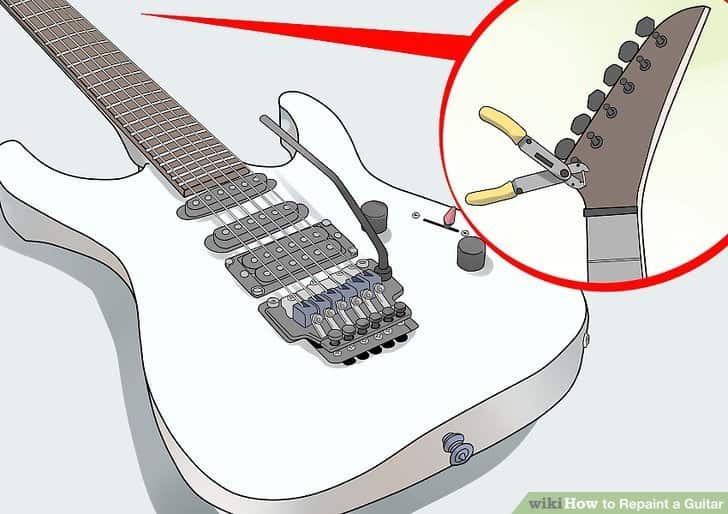
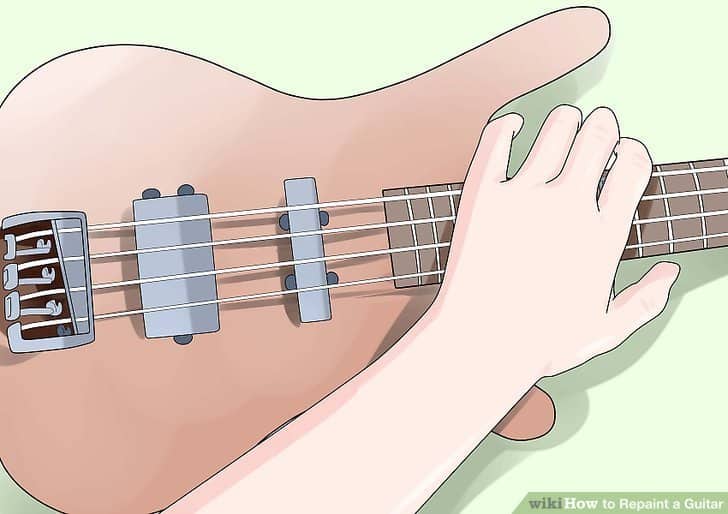
You’re going to want to start the process of repainting your guitar by first disassembling the instrument.
You can start this process by removing the strings of your guitar by clipping the strings away with a pair of wire clippers or string clippers. There is no way that you can repaint a guitar with these strings on, which means that when you’re finished painting your guitar, you’re more than likely going to need to re-adjust your truss rod once you put the guitar back together.
After removing the guitar strings from the instrument, you’re now going to work on removing the neck of the instrument.
To remove guitar necks that are bolted on, all you need to do is
Unscrew the bolts on the back of the neck joint, and;
Gently wiggle the neck free
However, if you happen to have a neck that’s glued on, glued necks aren’t meant to be removed, so you’ll just have to leave the instrument’s neck alone and repaint it to match the rest of the body.
Once you’ve removed the neck of the guitar, you’ll work on removing all of the hardware on the guitar. Using a screwdriver or an Allen wrench, remove the
Bridge
Knobs
Strap buttons
Pickguard
Pickups
Output jack
There are some guitar models where the output jack and knobs are wired to the pickups through holes that are in between each cavity, so you’re going to need to cut the wires to remove each piece of hardware. However, you should ensure that you know how the wires are wired so that you can put everything back together correctly.
After removing some of the hardware, you are next going to work on the bridge studs. Some instruments don’t have any bridge studs, but the bridge of the guitar can just be unscrewed from the body of your instrument.
Sometimes, it can be difficult to remove bridge studs because they’re hammered into the wood of the guitar.
If you’re really desperate to remove the bridge studs, you can heat the wood up with a soldering iron so that the wood heats up, and when the studs start to cool down, they will contract and become easier to remove. The downfall of doing this is that when you use pliers to remove the bridge studs, you can scar the finish of the studs and actually end up ruining their appearance.
Now that everything is removed from your instrument, you should set all the hardware and fasteners aside in plastic baggies and label the baggies.
Refinishing your instrument can take you a couple of weeks (or even a few months), so you’re going to want to make sure that you have each bolt and screw labeled, as this will help to prevent any confusion when you’re going and reassembling your guitar.
Remove the Old Finish by Sanding
Image from WikiHow
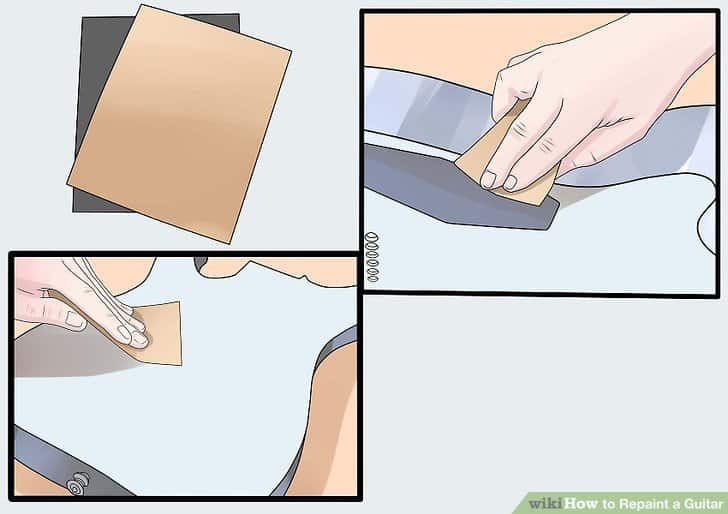
Now that all of your hardware is off of your instrument, you’re going to start to work on sanding the existing finish on the guitar. When sanding the existing finish on the guitar, you have two options on how you can go about this process.
You can decide to either sand away the finish completely or you can rough up the finish that’s already on the guitar to put on a fresh coat of paint that’s going to stick to the instrument.
Whether you’ve decided to go with a stain, a translucent paint, or to go back to the original finish that’s darker than the color of paint that you’re going with, you need to completely remove the finish that’s already on the instrument. If you’re only going to use solid paint on your instrument, then you’re only going to need to rough up the surface of your instrument.
Keep in mind that a lot of guitar builders agree that a thick coat of paint or finish will tonally diminish your instrument.
Next, take an orbital sander (I recommend this Porter Cable Random Orbital Sander w/dust vac port) to remove most of the finish. You can fit an orbital sander with some coarse grit sandpaper and work it over the entire body of your instrument, using circular and smooth strokes.
Though you may be extremely tempted, don’t use a paint stripper; not only is this an extremely toxic and messy process, but most paint strippers also don’t have the capabilities to remove the rock-hard polyurethane that a lot of guitar manufacturers use.
After using your sander, if you notice that there is still a finish on your instrument, you can use sandpaper to remove the rest of the finish.
Curved areas on your guitar are going to be difficult for your sander to reach, so coarse-grit sandpaper or a coarse-grit sanding sponge can be used to remove the finish in these hard-to-reach places.
Once you’ve finished using the sandpaper, you’re going to work on smoothing the guitar’s body. You can use a fine grain of sandpaper to smooth out the wood on the guitar.
You’re going to want to work over the entire body of the guitar with medium-grit sandpaper (120 grit). Then, go back over the entire body again and use an even finer grit of paper (220 grit).
Vacuum up Your Mess
Image from WikiHow
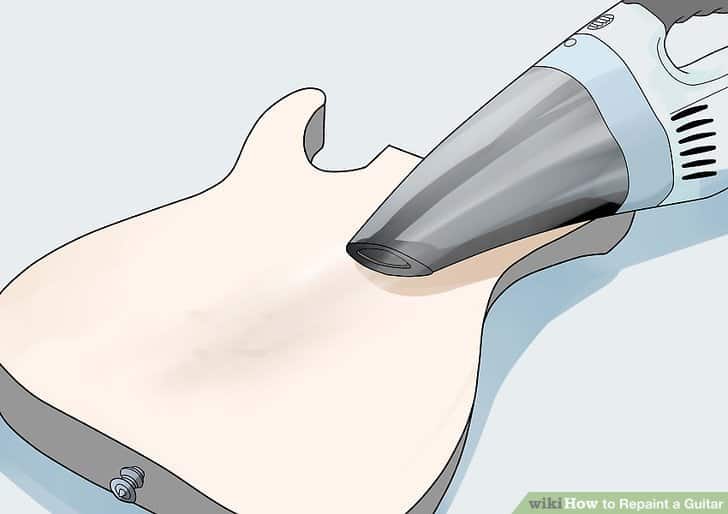
Now that you’re all done working on removing the finish of the guitar and smoothing the body down, you’re going to need to remove all of the dust on the guitar.
A vacuum cleaner with a hose attachment will remove most of the dust that comes from your sanding.
To remove additional dust, use a can of compressed air to spray the dust away, or you can wipe away the dust with a moistened cloth that’s been dampened with water.
Use a grain filler
Image from WikiHow
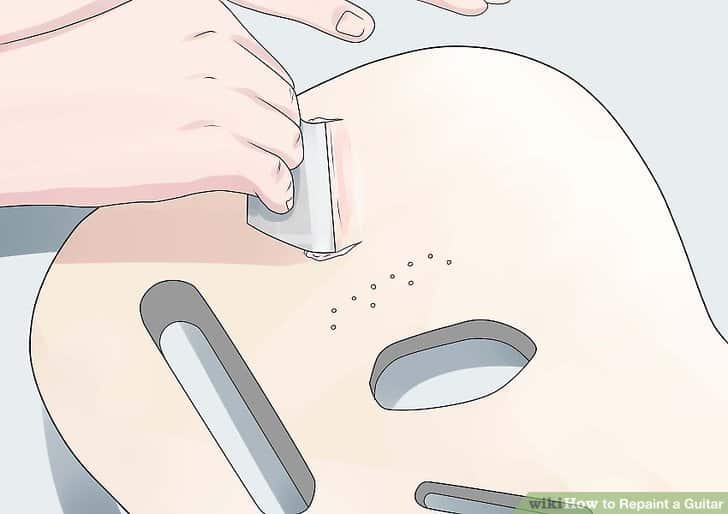
Unless you are purposefully going for the unfinished and distressed look, you will need to apply grain filler to your guitar’s body when you’re working on mahogany or other porous woods.
A grain filler is another term for putty or a filler to make your guitar’s surface even for when you start painting.
If you decide to go with a filler, choose an oil-based or a water-based fill that will match the finish or paint that you’re using.
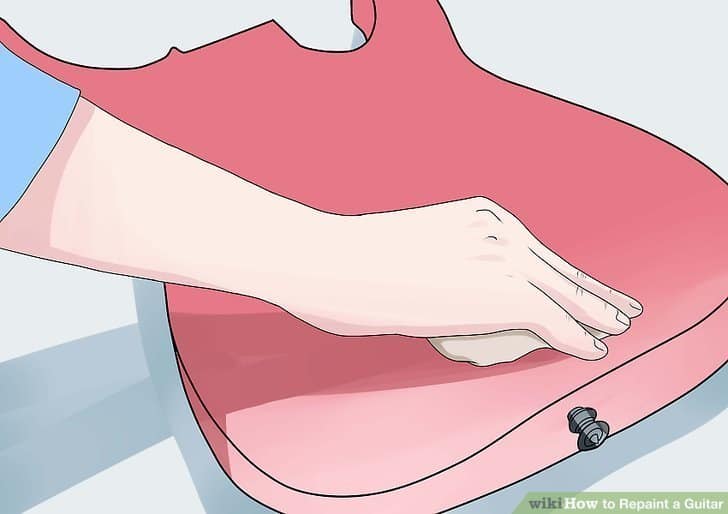
Apply mineral spirits
Image from WikiHow
Once you are all finished applying a grain filler, use mineral spirits to remove all of the oils that are on top of your guitar’s body. After you’ve applied the mineral spirits, don’t touch your guitar!
Wait for the mineral spirits to dry before you touch the guitar, as otherwise, the oils from your fingers will ruin your new finish.
Step 3: Get your Guitar Ready for Repainting
Image from WikiHow
Before you begin to apply your new paint or finish the job, you should place your instrument inside a large box that is sitting on top of a type of portable table (like a TV tray).
The opening of the box that you’ve chosen should be laid on its side so that when you’re painting your guitar, all of the paint is contained within the box while also allowing the guitar to slide in and out of the box with ease.
Also, ensure when you’re getting your area ready for painting your instrument that you’re doing so in a room that’s nice and open - that way, you don’t have to worry about your furniture getting accidentally painted.
Choosing the Right Paint (or Stain) and Finish
Image from WikiHow
To help you choose the right paint or stain and finish, here is a quick breakdown of the most common ones on the market:
Paint
Description
Pros
Cons
Nitrocellulose Lacquer
Quick-drying lacquer with a high gloss finish
Fast drying time, easy repairs, provides a durable coating
Prone to yellowing and damage, not as durable as other materials
Polyurethane
Resin-based finish that comes in an oil-based or water-based formulation
Extremely durable, moisture and heat resistant, easy to clean
Long drying time, prone to yellowing, difficult to repair
Polyester
Thick high gloss resin
Scratch-resistant, ultra-glossy finish
Difficult to apply, long drying/curing time, difficult to repair
Acrylic Lacquer
Clear lacquer
Fast drying, UV resistant, crack resistant
Prone to chipping and scratching, it requires regular upkeep
Not as durable as other options, moisture and heat-sensitive
Finish Types
As well as the type of paint you choose, you also need to think about your finish type. You have three options: matte, gloss, and satin. Matte means the finish is smooth and free from any shine. Gloss gives you a shiny and glass-like appearance, and satin is a combination of the two.
Apply primer
Image from WikiHow
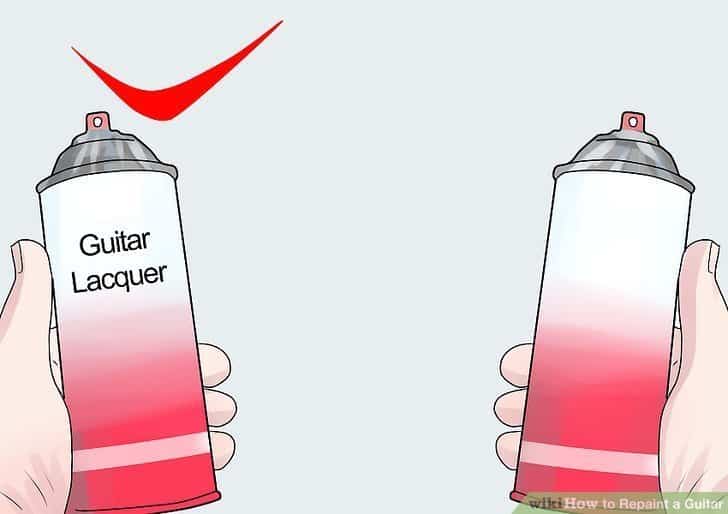
Before going in and adding your new finish or paint to your guitar, you should add a few coats of primer to your instrument that match the type of paint that you are going to use on your instrument.
Apply two to three thin coats rather than one thick coat of primer, as this will ensure that the primer will dry properly and that it won’t drip.
Start Painting Your Guitar
Image from WikiHow
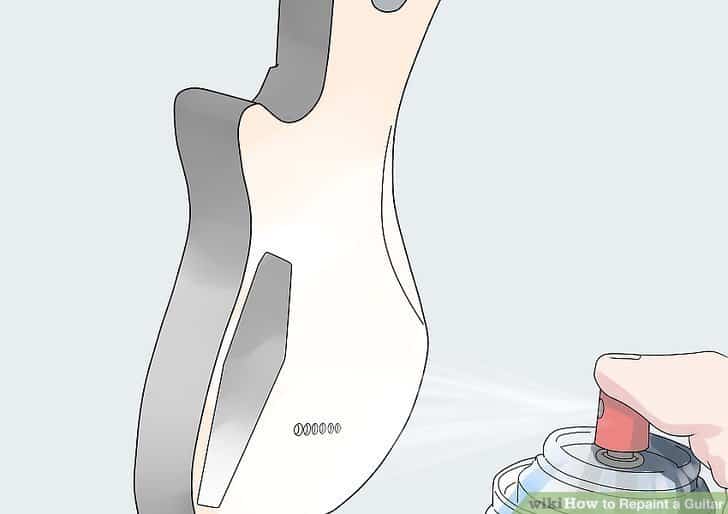
If you’ve decided that you’re going to use spray paint, make sure that you’re applying thin layers of paint and allowing each thin coat to dry completely before applying another coat of paint.
Before applying your clear coat of paint, you should allow your colored coat of paint to completely dry for one week before the clear coat.
General Application Techniques
How you precisely go about repainting your guitar largely depends on the model of the instrument and your chosen paint. However, here are some general tips to keep in mind to ensure you get the best end product possible;
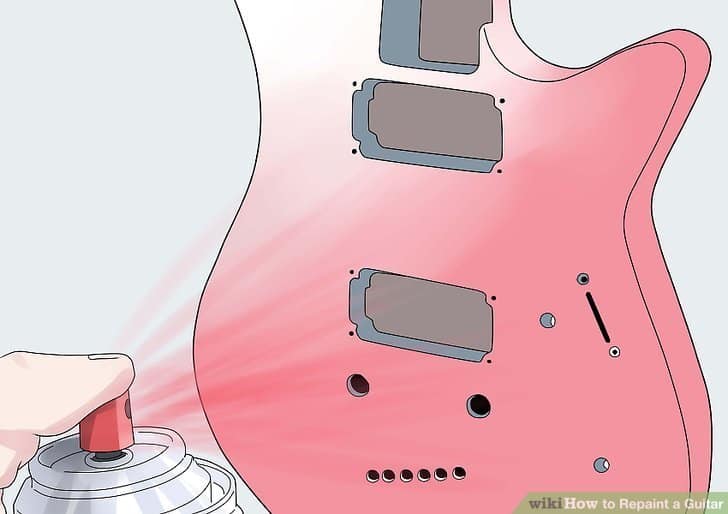
Apply thin coats: Be mindful of how much paint you apply with each coat. Keep the coats thin and allow each one to dry completely to ensure a smooth finish.
Maintain a consistent distance: When painting, maintain a consistent distance between the paint and the brush to allow for an even coat of paint to be applied each time.
Use a sweeping motion: Use a wide, sweeping motion when applying the paint to make sure you are evenly distributing the product over the surface of the guitar.
Follow the wood grain: Follow the grain of the wood when painting for the best-looking application possible.
Some tips:
Spray Painting - If you're using spray paint, follow the general application techniques outlined above.
Brush Painting - If you're using a brush, follow the general application techniques and pay close attention to the direction of the wood grain.
Start using your stain
Image from WikiHow
If you plan on using a stain, you’re going to need to wet the body of your guitar to make adding the stain to your body easier while also helping to avoid blemishes.
Then, apply the stain on the guitar via the instructions that the manufacturer provides. You’ll need to apply as many coats of stain until you’ve achieved your desired look.
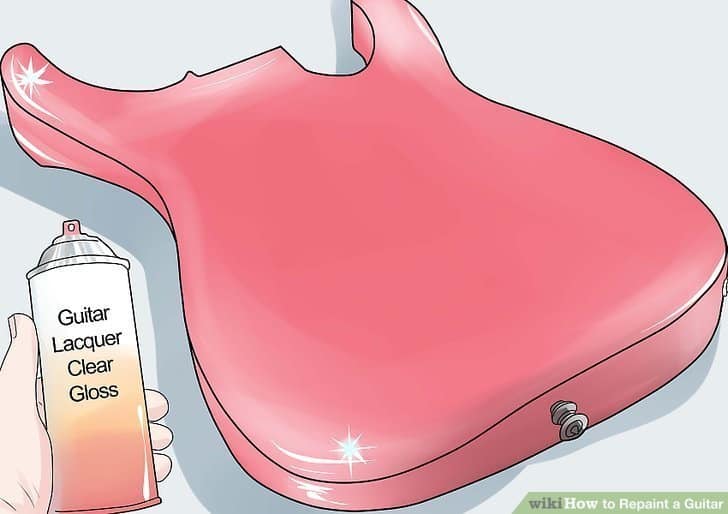
Step 4: Apply a clear coat
Image from WikiHow
Once your stain or your paint has dried for a week, you should apply a clear coat to your instrument.
A nitrocellulose clear coat is highly recommended (like this one). Make sure that when you’re applying your coats of clear coat, you do apply the coat as thin as you possibly can, applying the second layer after the first layer has dried, and so on.
You may need to add up to a dozen coats to get a factory finish. If you happen to choose a nitrocellulose or a polyurethane finish, you should wait between three to four weeks for the paint to completely harden. However, if you happen to use an oil-based finish, you’re only going to need to wait a few days for everything to harden.
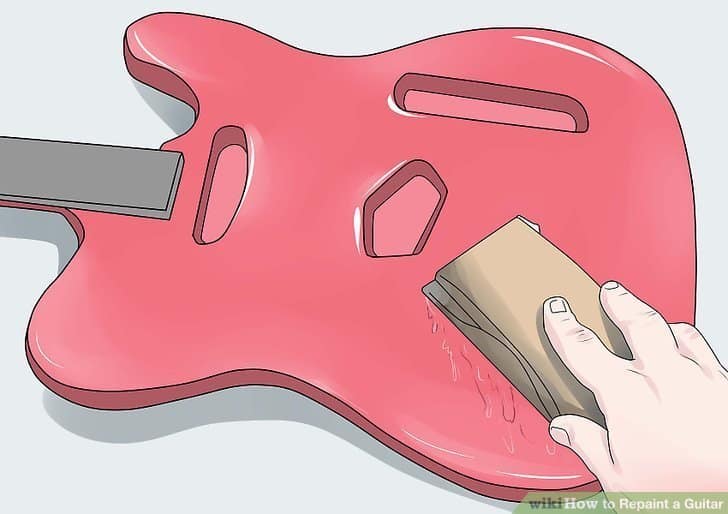
Step 5: Polish the finish
Image from WikiHow
Don’t dry sand the polish (use a wet sanding technique)! When you’re sanding the polish, make sure that you are doing wet sand on the hardened finish, starting with a fine grit (400) and to a more rough grit (2000). Your grit process should go from 400 grit, 600 grit, 800 grit, 1000 grit, 1200 grit, 1500 grit, and 2000 grit. Here’s a good multi-pack of sandpaper grit here.
Make sure you don’t skip over or miss any scratches, swirls, or tiny pits in the finish or otherwise; they will be impossible to get out later.
Also, ensure that you don’t sand through the clear color coat and into the color, so be extremely careful when you’re sanding near the edges that way, you don’t sand into the paint.
Step 6: Reassemble your Guitar
Image from WikiHow
Now that all of the paint is dried and you’ve sanded everything down, screw or bolt your guitar’s hardware back together.
If you had to snip any wires to take apart your guitar, you’re going to have to solder the wires back together. This would be a great time to replace any cheap factory components with higher-quality ones.
This is also the time when you can replace your old pickguard with something new! Once you have your instrument assembled again, you can clean and shine your guitar with your typical guitar polish. Then string it, tune it, and play!
Tips and Tricks
Here are some more general tips and tricks to ensure your guitar repainting project is a success!
Preparation Tips
Before you even begin painting, you need to put some thought into how you are going to prepare for the repainting project. This includes
Working in a well-ventilated area
Using a tack cloth to remove dust and debris from the guitar
Painting Tips
Before starting to paint the guitar, consider practicing on a scrap piece of wood to get a feel for the painting process and sharpen your technique. If this doesn’t go too well, you may want to use a spray gun instead for easier application.
Curing Tips
When curing your paint, take your time and don’t rush the process. Being too hasty can ruin the paint job, and poorly cured paint can be extremely hard to repair or reverse.
Electronics Tip
Apply shielding tape to areas where you don’t want paint or need clean lines. The tape acts as a guide to ensure the paint only goes where you want it to be and helps the final product look clean and polished.
I’ve Shared 3 More (Bonus) Tips for You In This Video
The Final Brush: Repainting a Guitar
If you happen to decide that you’re going to remove any old paint with a paint stripper, be extremely cautious when doing so! Use a quality paint respirator and make sure to do this outside, as the paint stripper is toxic and carcinogenic, so using your paint stripped outside will be much safer for your personal health.
Also, always make sure that you wear eye goggles and a dust mask when you’re sanding! Be careful, be patient, and good luck with repainting your guitar!
Altin lives for guitar; grabbing his beloved guitar is one of the first things he does when he hops out of bed in the morning. But, he isn't just dedicated to continuing to grow as a musician himself. Instead, he wants to help other people flourish playing the guitar too. It always makes Altin sad when he sees musicians with potential give up on playing because they get frustrated. After watching one too many people put down their guitar forever, he's now dedicated himself to helping every beginner guitarist he can learn how to master their struggles.
Best Articles:
Cheap Guitars That Are Better Than You Think
https://guitarspace.org/acoustic-guitars/cheap-guitars-that-are-better-than-you-think/
Fender Mexican Standard Review
https://guitarspace.org/electric-guitars/fender-mexican-standard-review/
3 comments on “How to Properly Repaint Your Guitar: A Step by Step Guide”
Im repainting my guitar with a solid color,now after each primer coat do i sand and than apply another coat of primer,the same with the base coat,or do i add multipal coats before sanding,i have never done this before so all help will be appreciated.Painting is all new to me,so please bare with me and help me to paint my guitar. If u need anymore info just let me know
Good stuff, im just starting to project four old guitars that are past there prime from the ground up. New guts, reshaping, paint... the works. So these little gems of insight are priceless to me. One of my dearest friends is a Luther. But I haven't told him yet and I am not gonna til its done. Wanna see if I can do this on my own. Any info you have on the different wiring strategies for HSH or HHH, HSS, etc would be greatly appreciated. Or if you know of a site that has this info at the ready please let me know. Keep up the good work and enjoy.
This was very informative. My question is attempting to / how to REFINISH the Head Stock, ie Changing the color of the head stock, working around mother of pearl Inlays of Gretsch or Gibson and it looking "stock", NOT cobbed-up or looking like an obvious Refinish job. You Tube doesn't really have any Vidz on this topic, and the one I saw looked extremely amateur'sh . .. thoughts !
Ever hit a G chord that feels bright and settled, then swap to G7, and suddenly it sounds a little…expectant? Like it’s leaning forward, waiting for the next page to turn. That “unsettled” sound is the whole point. G7 is a dominant seventh chord built from G (Root), B (Major 3rd), D (Perfect 5th), and […]
The first time I met B7, my hand froze. Four fingers, tight spacing, and one tiny mistake makes half the chord go dull. That is why I call B7 the Gateway Chord. It pushes your fingers to work as a team. You will hear it in Blues, Folk, Classic Rock, Jazz, and even acoustic metal […]
Hitting that beginner plateau on guitar can feel rough; you sit down to play, pick a song you love, and realize it is way beyond your current skills. That kind of mismatch drains motivation fast. The smarter move is to start with songs that sound great but use simple building blocks like open chords, standard […]


Im repainting my guitar with a solid color,now after each primer coat do i sand and than apply another coat of primer,the same with the base coat,or do i add multipal coats before sanding,i have never done this before so all help will be appreciated.Painting is all new to me,so please bare with me and help me to paint my guitar. If u need anymore info just let me know
Good stuff, im just starting to project four old guitars that are past there prime from the ground up. New guts, reshaping, paint... the works. So these little gems of insight are priceless to me. One of my dearest friends is a Luther. But I haven't told him yet and I am not gonna til its done. Wanna see if I can do this on my own. Any info you have on the different wiring strategies for HSH or HHH, HSS, etc would be greatly appreciated. Or if you know of a site that has this info at the ready please let me know. Keep up the good work and enjoy.
This was very informative. My question is attempting to / how to REFINISH the Head Stock, ie Changing the color of the head stock, working around mother of pearl Inlays of Gretsch or Gibson and it looking "stock", NOT cobbed-up or looking like an obvious Refinish job. You Tube doesn't really have any Vidz on this topic, and the one I saw looked extremely amateur'sh . .. thoughts !