How to Clean Your Guitar Fretboard: A Step-by-Step Guide
Taylor Petrie
One of the biggest traps in guitar ownership is neglecting its upkeep until something goes wrong. Rather than waiting for a sticky feeling, dull sound, or reluctance to play because it seems off, learning how to clean your guitar fretboard proactively is a must.
Regular fretboard maintenance isn't just about looks; it also improves your playing experience. A clean fretboard is more comfortable to use and preserves tone, so you're more likely to pick your guitar up (and play better) more often.
But keeping it clean is so much more than a wipe down. You'll need to think of hygiene, playability, and longevity to protect your pride and joy and make the cleaning process a lot more thorough.
Never fear. This guide will show you how to clean a guitar fretboard like the pros. To guarantee the best sound any time you pick it up, we cover everything from identifying your fretboard type to common cleaning methods and conditioning tips.
Preparation: Setting the Stage for Success
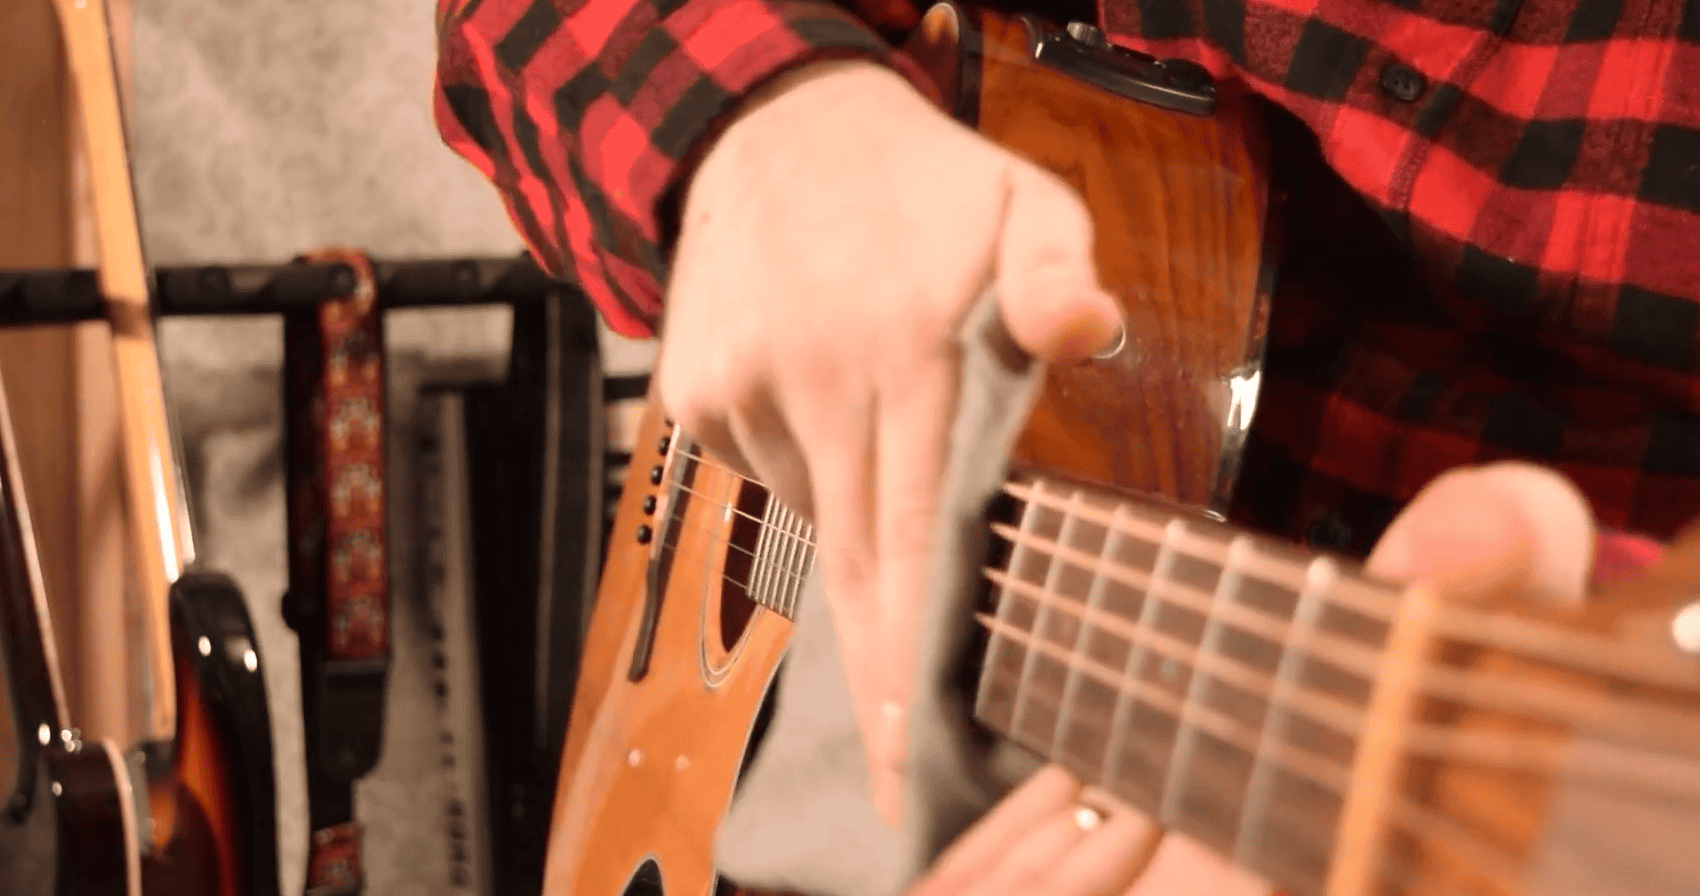
Before you can learn how to clean a guitar fretboard, you'll need to prep your workspace and instrument. With a bit of planning, you'll do a better job cleaning and preserve your guitar's safety and longevity.
String Removal
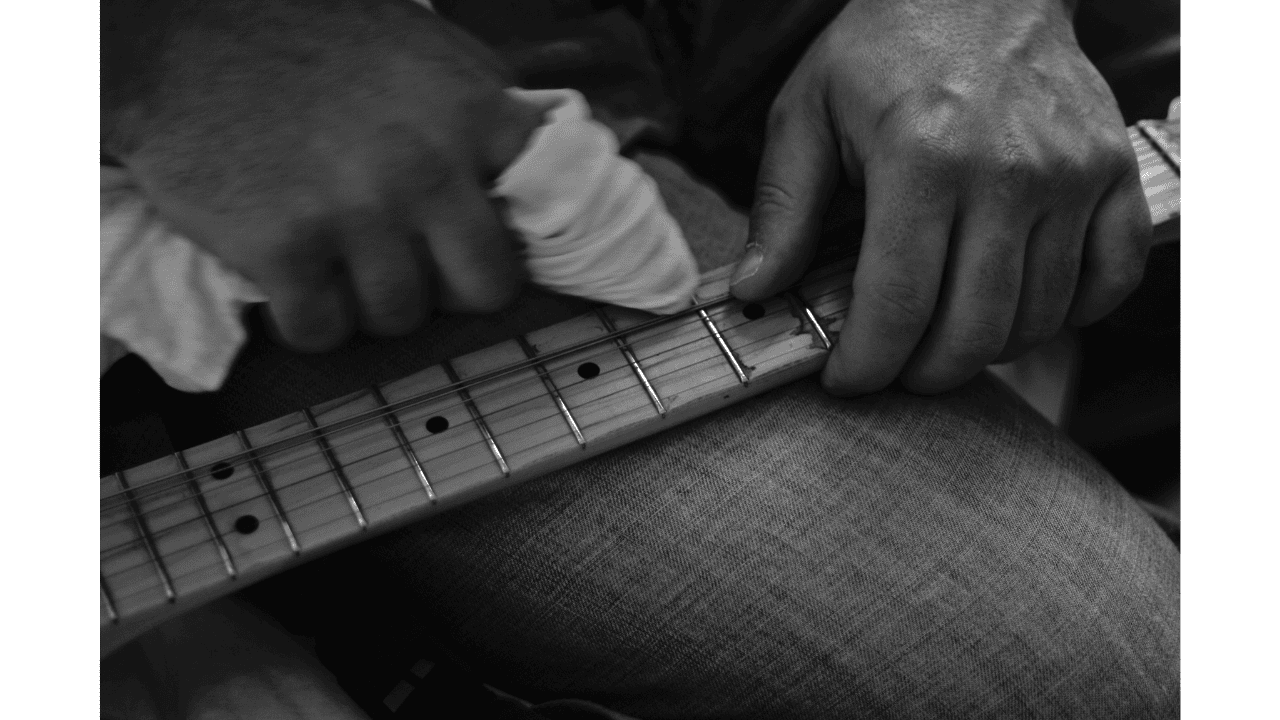
Removing the strings gives you unobstructed access to the fretboard and a much deeper clean. This type of access is especially important when dealing with significant grime or if you plan to condition the wood. It also prevents potential damage to the strings from the cleaning agents you use.
Hand Hygiene
Before you start, wash your hands thoroughly. Clean hands are key when handling your guitar. Oils, sweat, and dirt from your fingers can transfer to the fretboard, leading to a faster buildup of grime.
Neck Positioning
As one of your most prized possessions, you want to properly support the guitar neck to keep it stable while you clean it.
For bolt-on necks, consider removing the neck for easier access. Have a set-neck guitar? Using a neck rest or a towel to support the neck securely can help.
You'll prevent strain on the neck joint and allow for even pressure during cleaning.
Climate Considerations
Wood is sensitive to humidity levels, so think about where you live and how the weather might impact it.
Low humidity can cause the fretboard to dry out, leading to issues like fret protrusion, where the frets extend beyond the edge of the neck due to wood shrinkage.
As a result, your guitar's playability is affected, and it can cause you discomfort while playing.
A hygrometer can help monitor humidity levels in your environment, aiming for around 45-55% for your guitar. Consider getting a room or case humidifier to protect your instrument if the humidity is consistently low.
Initial Inspection: Checking for Signs of Dryness or Damage
Before you start cleaning, inspect the fretboard for any signs of dryness. This can look like a pale appearance, rough texture or visible cracks.
Also, check for fret sprouts where the fret ends protrude. Any obvious issues? Consider consulting a professional luthier before you go any further.
With a little bit of prep, you set the stage for a successful and safe fretboard cleaning, and your guitar stays in the best condition possible.
Cleaning Different Fretboard Types
Not all fretboards are created equal. And in fact, each wood type responds differently to cleaning agents and techniques. Determining yours will yield the best results. Here's how to handle the most common fretboard types.
Rosewood, Ebony, and Pau Ferro
These darker woods are porous and typically unfinished, so they absorb moisture and oils easily. If this is your guitar, some occasional conditioning to prevent drying and cracking is the way to go.
Initial dry wipe: Start by removing loose dust and debris using a soft, dry microfiber cloth. When you move onto the cleaner stage, you'll reduce the chance of grinding dirt into the wood.
Lemon oil application (mineral oil-based): Use a fretboard conditioner like Dunlop Lemon Oil or Dunlop Formula 65 Fretboard Kit. Apply a small amount to a clean cloth or directly to the fretboard. These oils hydrate the wood while gently lifting grime and are a godsend for guitars.
Soaking and dirt loosening: Let the oil sit for a couple of minutes for super dirty fretboards to break down hardened gunk. Be careful not to oversaturate it, though. Less is more.
Gentle scrubbing: Use a soft toothbrush to work oil into stubborn areas around the guitar frets. Make sure you're scrubbing gently along the wood grain to avoid scratches.
Excess oil removal: Wipe away any remaining oil and dirt with a dry cloth. Any oil residue left behind can attract more grime, so you want the surface to be dry and clean when done.
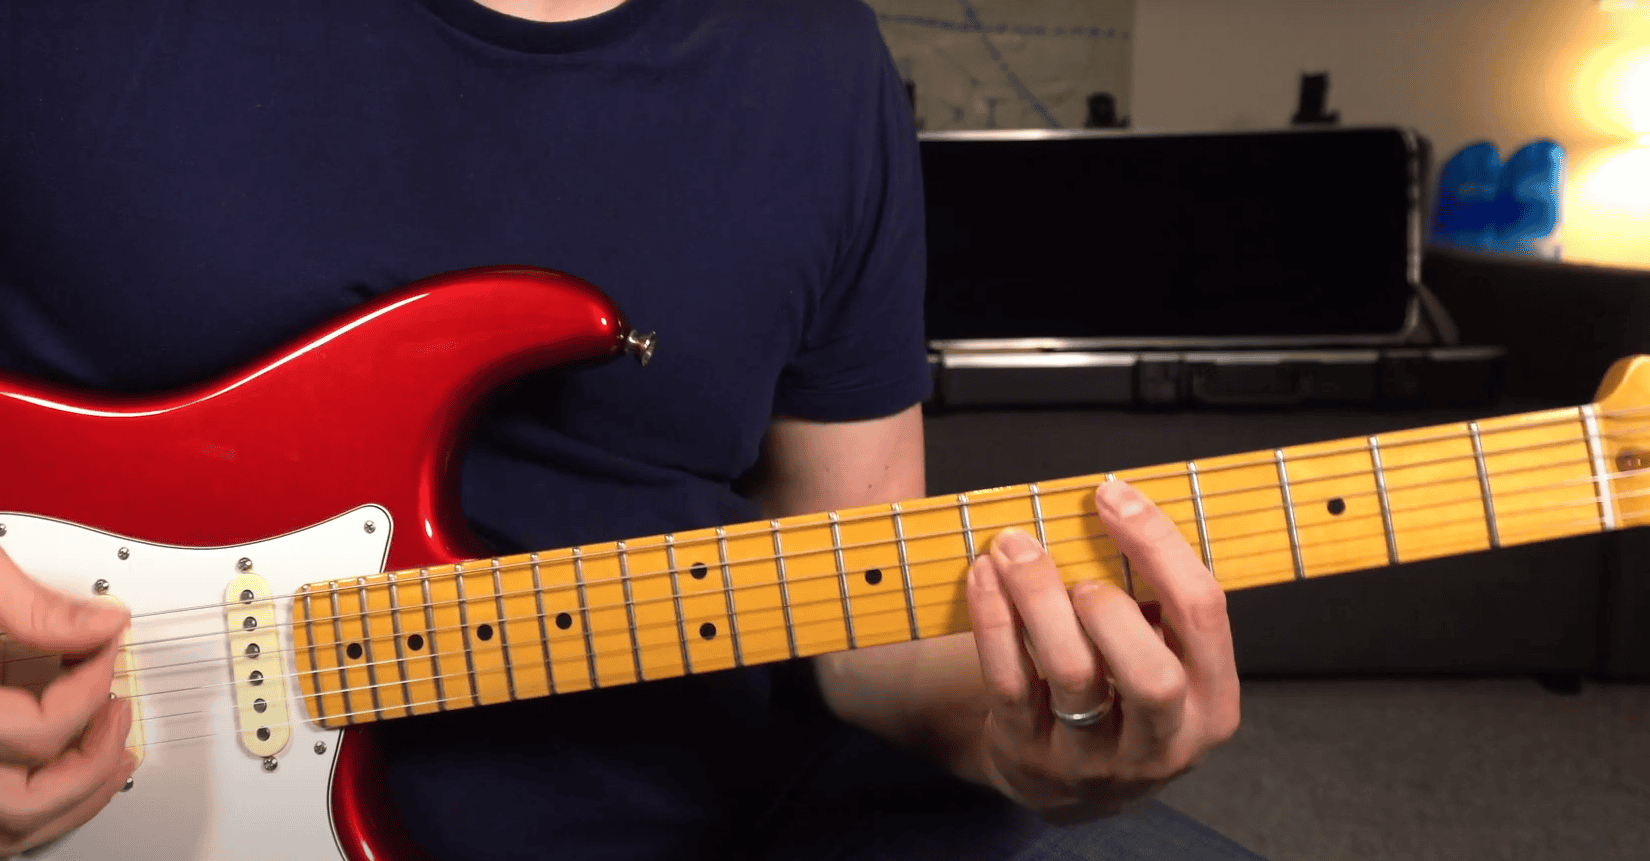
Maple Fretboards
Maple fretboards are another beast, especially the finished variety, requiring a completely different approach. Since most maple necks are sealed with a gloss or satin lacquer, they're less absorbent. And also less forgiving of heavy oils.
Finished maple: Use a lightly damp cloth or wipes for safe cleaning. Avoid oils, which can damage the lacquer. Stick to cleaners made specifically for guitars and approved for finished wood.
Unfinished maple: These rare guitars require a special touch. Because the wood is highly absorbent, you should never use lemon or mineral oils. Instead, use minimal moisture and consider applying a small amount of carnauba wax for protection, then buff gently.
The differences between finished and unfinished maple: Still unsure what your guitar is? Finished maple has a smooth, glossy surface and resists moisture. Unfinished maple feels raw or matte and is usually prone to staining or wear. Always figure out what's what before you learn how to clean your guitar fretboard.
Fret Polishing: Achieving a Smooth Finish
Once your fretboard is clean, you can start polishing. Since frets tarnish or accumulate grime over time, it'll show on their appearance. Worse still, it affects the smoothness of your bends and slides. With a few simple tools and the proper precautions, you can regain that factory shine.
Fretboard Protection: Masking Tape or Fret Guards
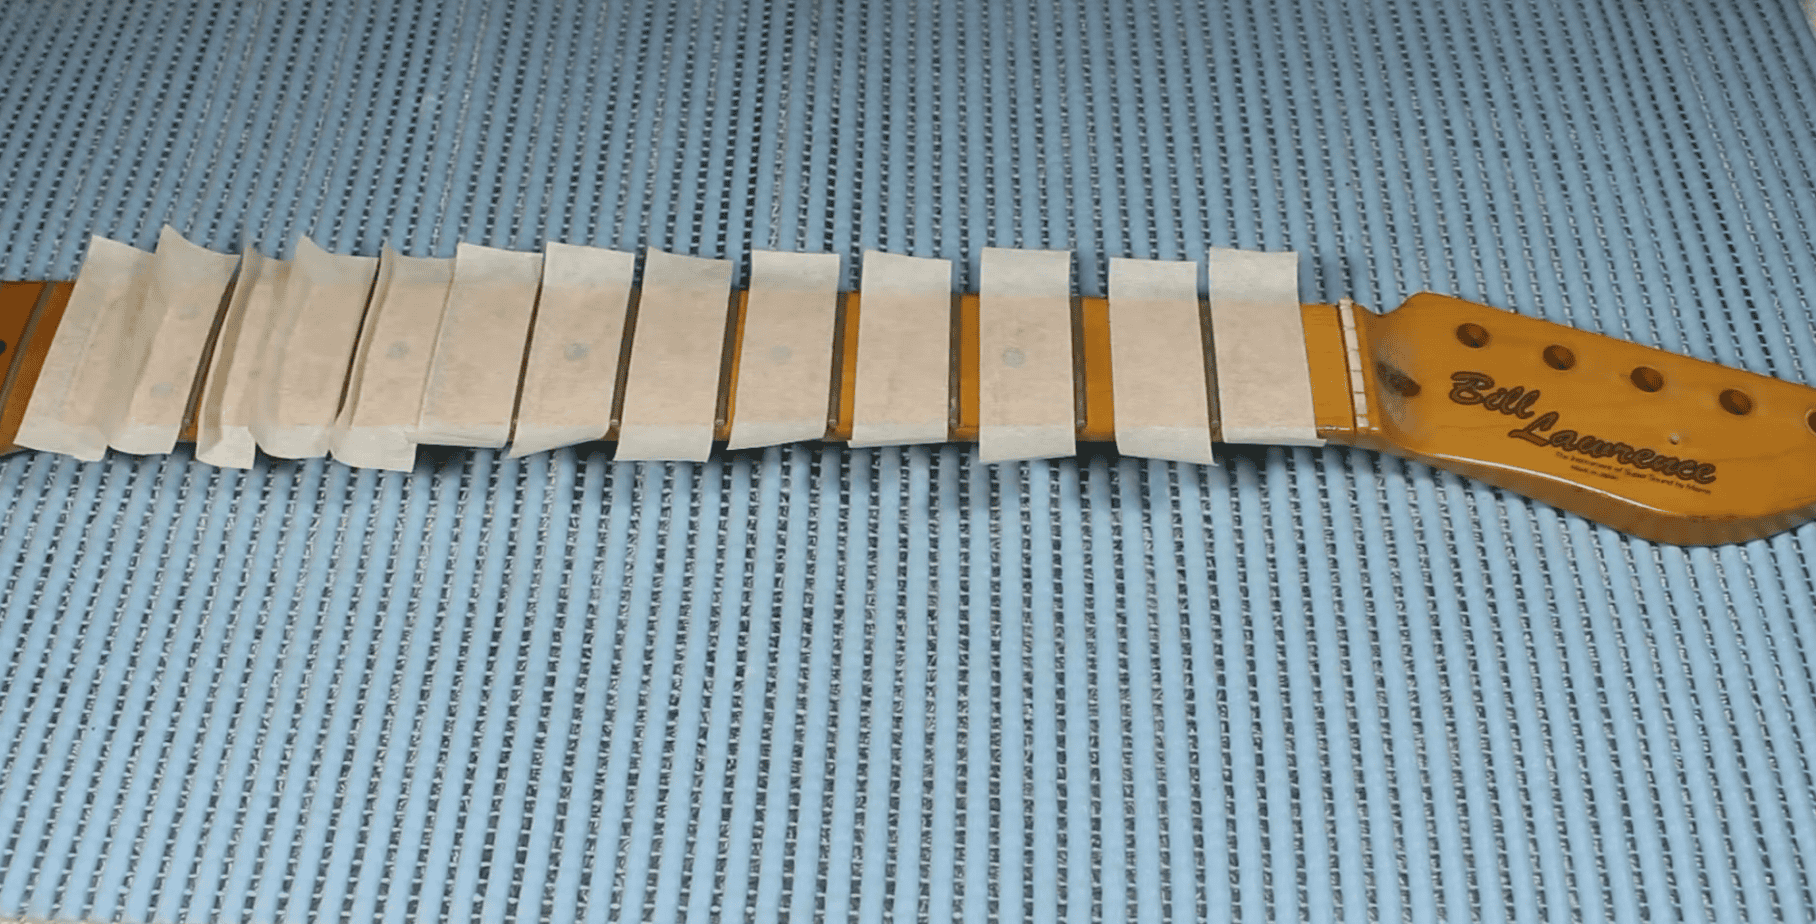
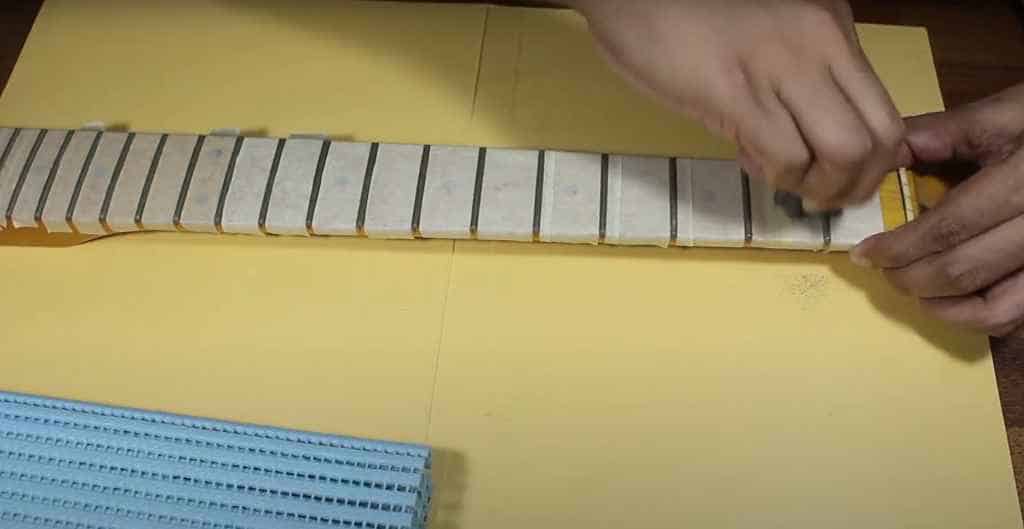
Before you start polishing, protect the fretboard wood from abrasives. Use a painter's tape to mask off the wood around each fret, or a dedicated fret guard (thin metal strips with fret-sized cutouts) for quick coverage. This step is a must if you want to avoid scratches.
Micro-mesh Polishing: Grit Sequence and Dampening
Micro-mesh pads are a great alternative to steel wool. They come in various grit levels, typically starting around 1500 and going up to 12000. Begin with a coarser grit to remove tarnish, then work your way up to finer grits for a mirror shine. Put a little water on the pads first to reduce dust and increase control during polishing.
0000 Steel Wool Alternative: Precautions and pickup protection
Prefer to use traditional 0000-grade steel wool? Be extra cautious. Super fine steel wool sheds tiny metal fibers that can stick to your guitar's pickups and cause electrical issues. Always cover your pickups with painter's tape or plastic before starting, and clean up thoroughly afterwards using a magnet or vacuum.
Detailing the Fret Polishing Process
Now's not the time to rush. Work slowly, polishing each fret individually in small back-and-forth motions along its length. Avoid applying too much pressure; your abrasive will do the heavy lifting. Once you've polished all the frets, wipe the neck with a clean microfiber cloth to remove any remaining particles.
String Maintenance: Extending Their Lifespan
Sure, the fretboard often gets most of the cleaning attention, but strings are just as important. Dirty strings can quickly kill your tone, feel rough under the fingers, and wear out so much faster. When you keep your strings clean, you improve the sound of your guitar and extend the life of each set, saving money in the long run.
Importance of clean strings: Sound quality and longevity
Grime, sweat, and skin oils love to build up on strings, dulling their tone and corroding the metal. Committing to a regular cleaning schedule can maintain the brightness and resonance of your guitar.
Hand washing and post-play wiping: Daily maintenance
Before you play, wash your hands. And after each session, use a microfiber cloth to wipe down each string individually, including top, bottom, and sides. You'll remove fresh sweat and debris before it gets the chance to settle in.
String cleaners: Dunlop 65, GHS Fast Fret, and their benefits
Dedicated string cleaning products like Dunlop String Cleaner 65 and GHS Fast Fret make keeping strings in great shape easier. These cleaners remove buildup and condition the strings, reducing squeak and friction during play. Fast fret, for example, comes with an applicator and is safe for all string types.
When and when not to clean strings before playing
You can wipe down the strings before playing, but applying too much cleaner right before a session can have a negative effect. If the strings feel slick or coated, cleaning them after playing is better.
How to properly clean guitar strings
Apply your chosen cleaner to a cloth or applicator, then pinch each string and slide the fabric along its full length. You should be thorough but gentle. Any over-scrubbing, and you'll damage the winding or coating on certain string types. Read here for a more detailed guide to cleaning your strings.
A Little Effort for a Lot of Sound
Regular fretboard and string maintenance can seem daunting, but it makes a major difference in your guitar's performance and playability. And learning how to clean your guitar fretboard is one of the best things you can do to extend its lifespan.
Consistent care protects your investment and builds your connection with the instrument. And since a clean, well-conditioned fretboard helps you play better, there’s no excuse not to commit to regular cleaning.
So, take the time to give your guitar the attention it deserves. The payoff is worth it: a guitar that feels great, sounds better, and inspires you to keep playing.
Author
Taylor Petrie
Taylor has a whole slew of experience; professional training, classical knowledge, and he’s fronted a few bands. So no matter what your long-term guitar goals are, Taylor’s been there. And he’s here to share with you the ins and outs, what to do and what to avoid, and whatever other knowledge you need to master your instrument. Every day, he spends time learning new things about the guitar; the main drive in his journey to reach all people with the power of music.
Ever hit a G chord that feels bright and settled, then swap to G7, and suddenly it sounds a little…expectant? Like it’s leaning forward, waiting for the next page to turn. That “unsettled” sound is the whole point. G7 is a dominant seventh chord built from G (Root), B (Major 3rd), D (Perfect 5th), and […]
The first time I met B7, my hand froze. Four fingers, tight spacing, and one tiny mistake makes half the chord go dull. That is why I call B7 the Gateway Chord. It pushes your fingers to work as a team. You will hear it in Blues, Folk, Classic Rock, Jazz, and even acoustic metal […]
Hitting that beginner plateau on guitar can feel rough; you sit down to play, pick a song you love, and realize it is way beyond your current skills. That kind of mismatch drains motivation fast. The smarter move is to start with songs that sound great but use simple building blocks like open chords, standard […]